Troubleshooting
Alright, so you got all excited, tried to setup cloud and something went wrong? Don't worry, here are some common issues and how to resolve them.
Logs and system information
The first step in troubleshooting is to take a look at the logs.
-
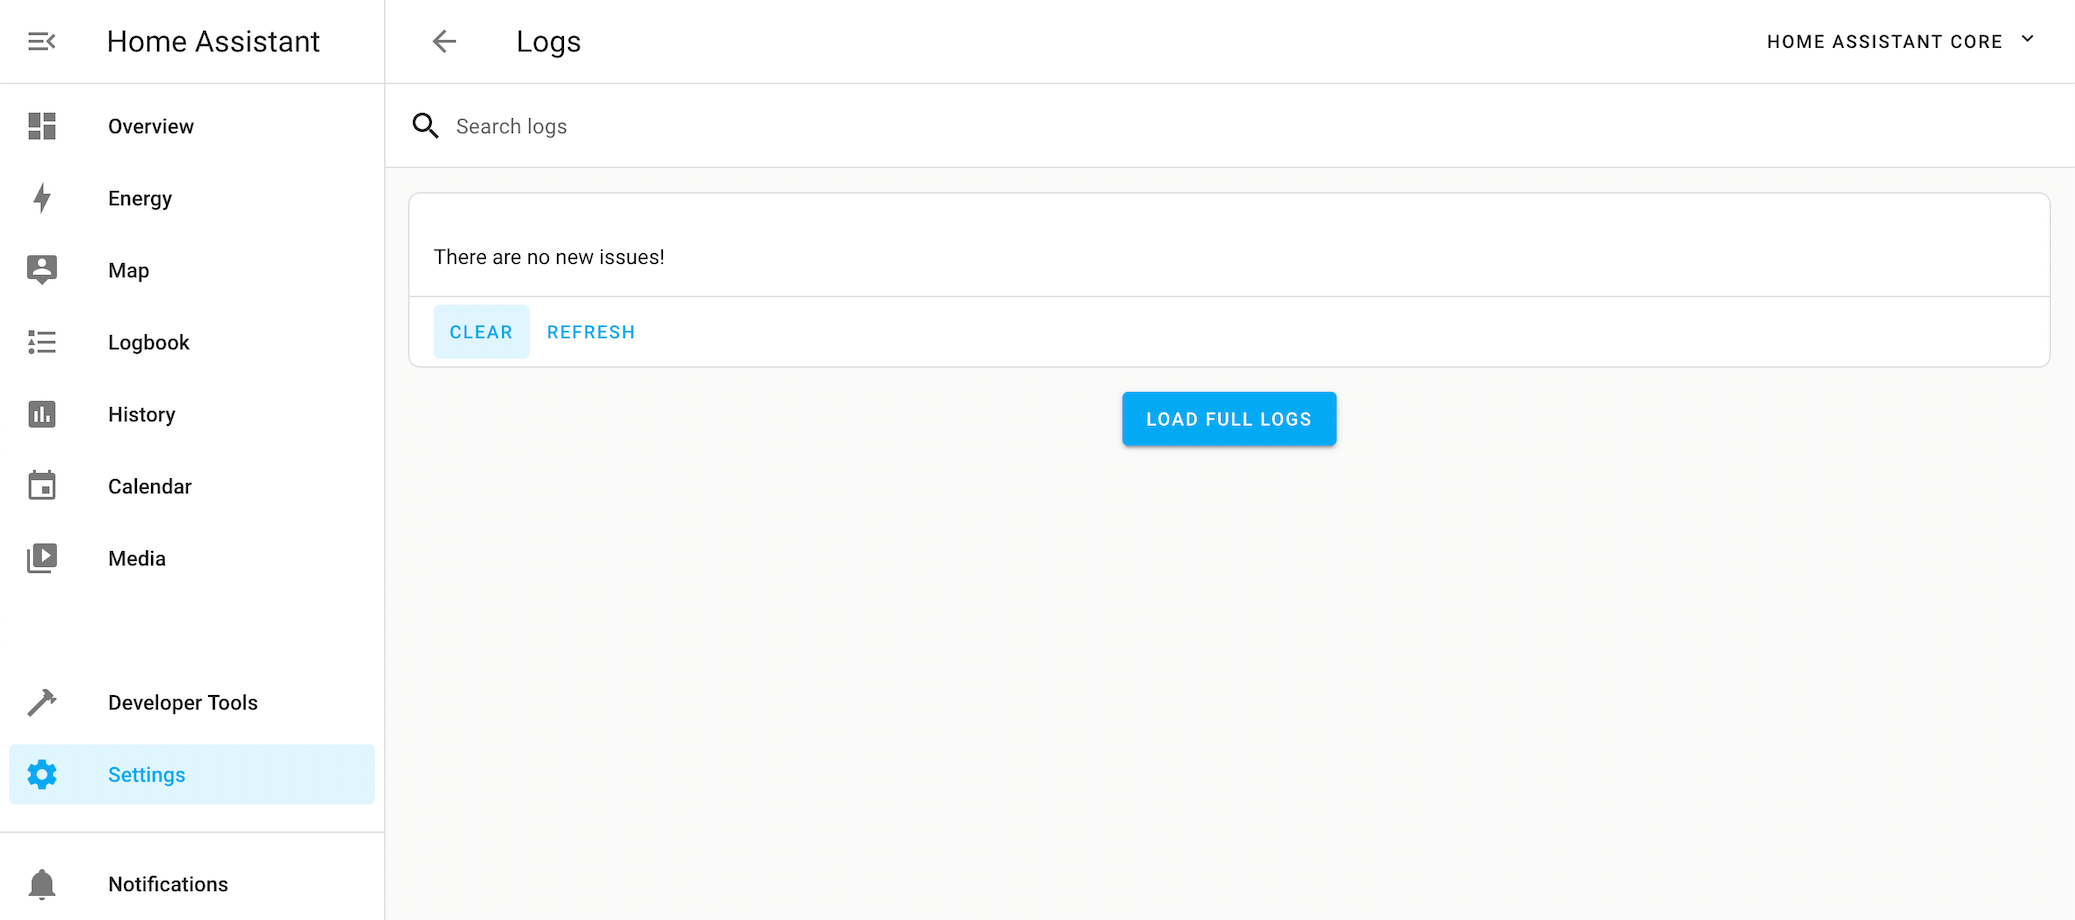
In the UI, go to Settings > System > Logs.
For a description of your installation environment:
Multi-factor authentication
About multi-factor authentication
Multi-factor authentication uses a combination of two or three different ways to authenticate your identity:
- Something you know (like a password).
- Something you have (like a code generated by a device or service only you have access to).
- Who you are (indicated by some biometric such as a fingerprint).
If you enable multi-factor authentication for Home Assistant Cloud, in addition to your password, you will be asked for a code from a multi-factor authentication application such as Google Authenticator.
This page shows you how to enable multi-factor authentication (MFA) for Home Assistant Cloud, and how to disable it again later.
Enabling multi-factor authentication (MFA) for Home Assistant Cloud
Step-by-step instructions on enabling multi-factor authentication (MFA) to log in to your Home Assistant Cloud account.
Prerequisites
- A Home Assistant Cloud account
- Home Assistant version 2025.1.0 or later
- If you're unsure what version you're running, in Home Assistant, open Settings > About.
- If you are running an older version, and have MFA enabled on Home Assistant Cloud, you won't be able to log into Cloud from Home Assistant. You will need to update Home Assistant first.
- Administrator rights in Home Assistant
- A multi-factor authentication application. For example:
- A dedicated authenticator app on your phone, such as
- A password manager with authenticator capabilities, such as
- 1Password
- If you are using a password manager for this, make sure you have added an entry for your Home Assistant Cloud account.
- Then, add a section in that entry for one-time password (OTP)
To enable multi-factor authentication (MFA) for Home Assistant Cloud
- On the Nabu Casa account page, log into your account.
- Under Manage account -> Multi-factor authentication, select Enable MFA.
- Result: A QR code and a setup code are displayed.
- To add Home Assistant Cloud to your authenticator app, follow the instructions on screen:
- Open your authenticator app.
- In the app, either scan the QR code or copy and paste the code manually into the authenticator app.
- If you are not using a dedicated authenticator app but a password manager, in the entry for the Home Assistant Cloud login, enter a section for one-time password and enter the code there.
- Result: The app generates a one-time code.
- On the Nabu Casa website, enter the code.
- Result: Multi-factor authentication is enabled.
- From now on, you need the authenticator app to generate a code every time you log into Home Assistant Cloud.
Disabling multi-factor authentication (MFA) for Home Assistant Cloud
Follow these steps to disable multi-factor authentication (MFA) for your Home Assistant Cloud account.
Prerequisites
- Have multi-factor authentication (MFA) enabled for Home Assistant Cloud
- Have access to the multi-factor authentication application you used to set MFA up
To disable multi-factor authentication (MFA) for Home Assistant Cloud
- Log into your Home Assistant Cloud account.
- Under Manage account > Multi-factor authentication, select Disable MFA.
- Result: Multi-factor authentication is disabled.
- When logging into Home Assistant Cloud, you will no longer be prompted to provide a one-time code.
Troubleshooting
I lost the device that I use to generate the MFA token
Symptom
You have multi-factor authentication enabled to log in to Home Assistant Cloud. Now, you lost the device that is used to generate the multi-factor authentication token. For example, you lost the phone that has the authenticator app installed.
Resolution
Submit a ticket to our Customer Support team.
Related topics
Remote control
If you are using Cloudflare for DNS, make sure the records do not have proxy enabled for the DNS records.
You can use a tool like dnschecker.org to see if the DNS records has the expected values.
Condition
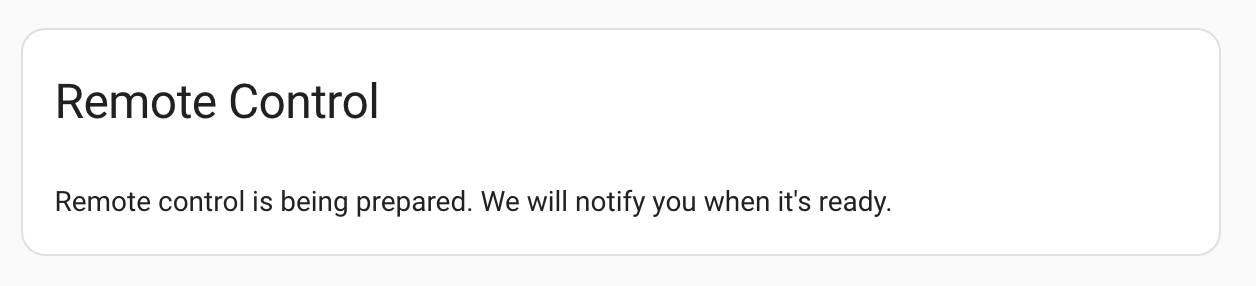
Under System > Home Assistant Cloud, Remote connection, you see the following message:
Remote control is being prepared. We will notify you when it's ready.
Description
This message indicates that there is an issue generating the SSL certificate that is used to create an encrypted connection between your Home Assistant instance and Nabu Casa Cloud.
Remedy
Depending on what is causing this issue, there are different steps you can try to resolve this.
- Wait for 5 minutes. It may take a while to generate the certificate.
- Check if there is a general network issue.
If none of the above applies, check if there is an IPv6 issue.
-
To check the IPv6 connection, in your browser, open test-ipv6.com.
- Try the steps suggested by the website.
-
If the IPv6 test revealed that there is an IPv6 issue, and if you are not running Home Assistant on a VM, try disabling IPv6:
- In the UI, go to System > Network.
- Under Configure network interfaces, expand the IPv6 dropdown.
- Choose the disabled option and save the changes.
- To have all network settings applied from scratch, reboot the host. Select Settings > System > Restart Home Assistant (top right) > Expand Advanced Options > Reboot system.
If the problem persists, try resetting your Home Assistant Cloud data and requesting a new certificate:
- Open Settings > Home Assistant Cloud.
- Select the three dots menu (⋮) in the upper-right corner.
- Select Reset cloud data.
- Restart Home Assistant:
- Go to Settings > System > Restart Home Assistant (top right).
- Select Reboot system.
- Once Home Assistant restarts, go back to the Home Assistant Cloud page and sign in with your Nabu Casa credentials.
- Wait a few minutes while Home Assistant attempts to request and download a new SSL certificate for your remote URL.
If resetting cloud data did not resolve the issue, do not reset it again and instead contact Nabu Casa support.
Symptom
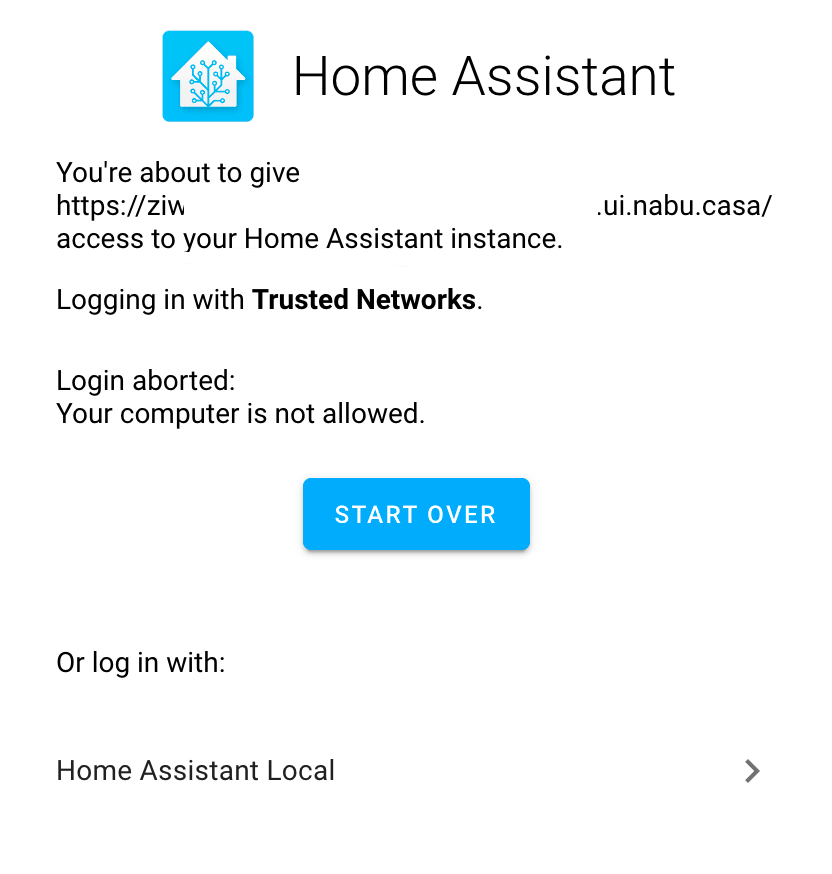
When trying to access the Home Assistant user interface, you see the message:
- You're about to give
https://somekey.ui.nabu.casa/access to your Home Assistant instance. Logging in with Trusted Networks. Login aborted: Your computer is not allowed.
Cause
This message indicates that you have trusted networks configured in the configuration.yaml file. Due to the way the Remote UI is set up, you cannot use trusted_networks over the cloud URL.
Resolution
There's two ways to resolve this. Option 1 is to not use trusted networks at all. Option 2 is to use trusted networks, but only locally.
Option 1: Do not use trusted_networks
-
Open your
configuration.yamlfile. -
Delete the entire
type: trusted_networkssection.homeassistant: auth_providers: - type: trusted_networks trusted_networks: - 192.168.0.0/24 -
If you like, set up Multi-factor authentication.
-
To apply the new network settings, restart Home Assistant.
-
Log in with your credentials and multi-factor authentication.
Option 2: Keep using trusted_networks, but only locally
-
Open your
configuration.yamlfile. -
Make sure that in addition to
type: trusted_networks, you also have atype: homeassistantsection.homeassistant: auth_providers: - type: homeassistant - type: trusted_networks trusted_networks: - 192.168.0.0/24 -
If you like, set up multi-factor authentication.
-
To apply the new network settings, restart Home Assistant.
-
In the login screen, choose Home Assistant Local.
- Log in with your credentials and multi-factor authentication.
Symptom
One of your Home Assistant users cannot access Home Assistant remotely.
Cause
This indicates that this user is restricted to local access.
Resolution
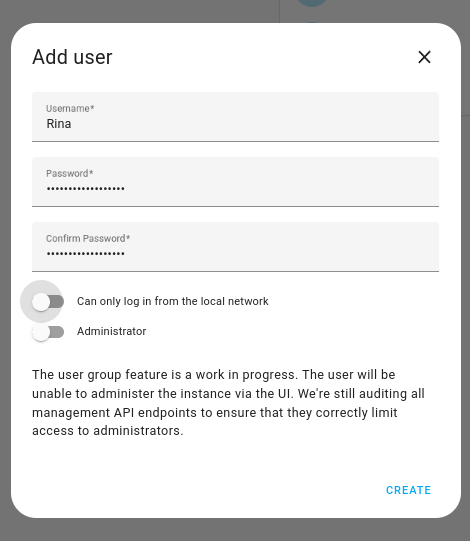
To allow people to access Home Assistant remotely, perform the following steps:
- Go to Settings > People.
- Select the user.
- Enable Allow person to login.
- Make sure the Can only log in from the local network option is disabled.
Unable to reach Home Assistant Cloud
Symptom
You are using the Remote UI feature. Instead of the Home Assistant user interface, the browser shows a 403 Forbidden message.
Cause
403 Forbidden indicates that IP banning has been configured in your configuration.yaml file and that the ban has been triggered.
# Example configuration.yaml entry
http:
  trusted_proxies:
    - 10.0.0.200
    - 172.30.33.0/24
  ip_ban_enabled: true
  login_attempts_threshold: 5
Resolution
-
Open your
configuration.yamlfile. -
If
ip_ban_enabledis set to true:-
In the configuration folder, you should see an
ip_bans.yamlfile. -
In the
ip_bans.yamlfile, delete the127.0.0.1entry.127.0.0.1: banned_at: "2023-07-17T14:20:03"
-
-
To apply the changes, save the
ip_bans.yamlfile and restart Home Assistant.
Symptom
Under System > Home Assistant Cloud:
- The Cloud connection status is Connecting…
- You see a message Unable to connect.
Cause
This error indicates a network issue. It often occurs when the Home Assistant host has a bad IPv6 network configuration. Fixing the network configuration or disabling IPv6 on the host should resolve this error.
Resolution
- To check the IPv6 connection, in your browser, open test-ipv6.com.
- Try the steps suggested by the website.
- If there is an IPv6 issue and the step above didn't work: try disabling IPv6:
- In the UI, go to System > Network.
- Under Configure network interfaces, expand the IPv6 dropdown.
- Choose the disabled option and save the changes.
- To have all network settings applied from scratch, reboot the host. Select Settings > System > Restart Home Assistant (top right) > Reboot system.
Webhooks
Calling a webhook URL can return various status codes for different problems. Below is a list of the most common codes and reasons.
| Code | Description |
|---|---|
| 404 | The webhook URL you tried is not valid. Visit the Cloud panel to verify the URL you are using. |
| 405 | The method (GET/POST/etc.) used for the webhook is not allowed. Check the trigger configuration of your automation to make sure you are calling it correctly. |
| 503 | Your Home Assistant instance is not connected properly to our services. Check your system health section. |